

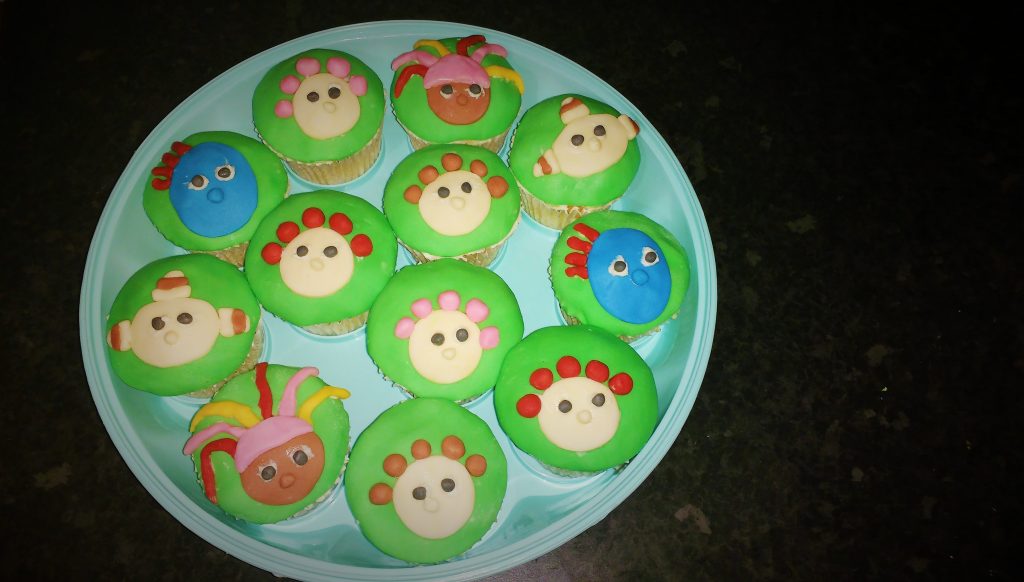
CBeebies Peter Rabbit Buns: A Step-By-Step Guide
I loved Peter Rabbit when I was little, so I was thrilled when CBeebies made their own animated version for little ones. My kids are now both big Peter Rabbit fans and so I thought I’d have a bash at recreating them in bun form (as you do!)
It’s worth saying that they didn’t turn out quite as well as I’d hoped, but I’m totally blaming the fondant icing. I used the proper Dr. Oetker stuff this time, rather than Tesco‘s own, and it was much trickier to work with – it kept sticking to my fingers.
So top tip number 1 – buy the cheap stuff!
Okay on with the buns…
Getting started
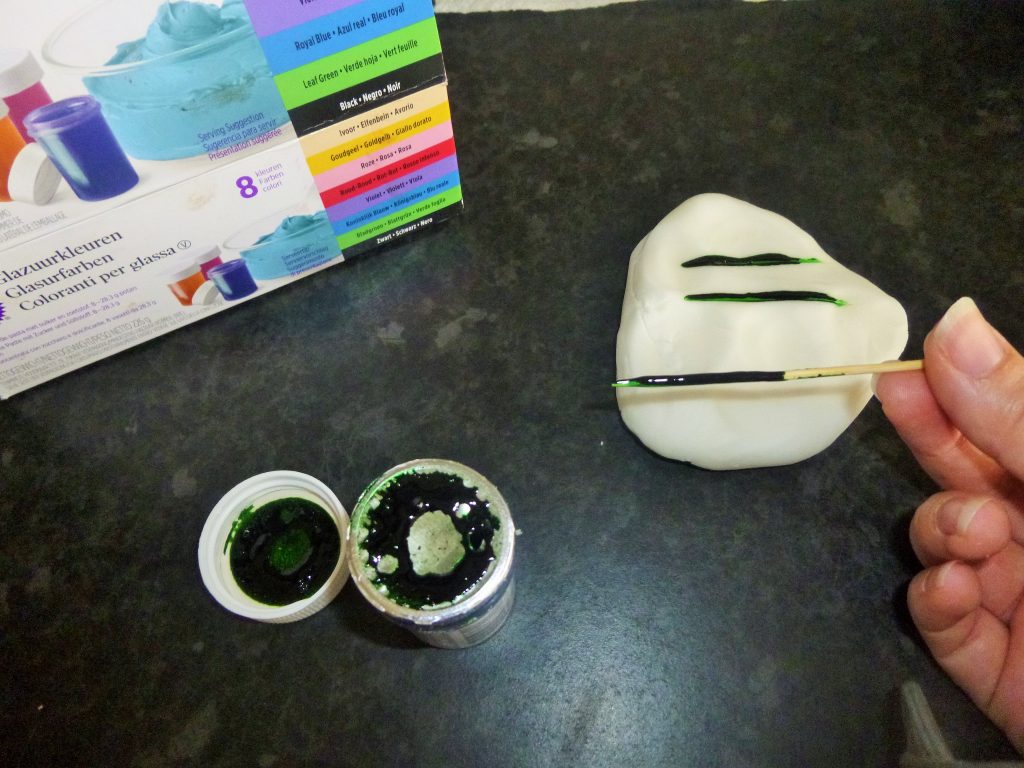
You can make your own buns if you like, but I bought a 12 pack of plain buns from Morrison’s for £1.15. You’ll also need to make some buttercream and colour your fondant icing. If you’ve never coloured fondant before, just squash it flat a bit, dip a cocktail stick into the colouring, and wipe it onto the icing. Then fold the icing in on itself until the colour has worked all the way through.

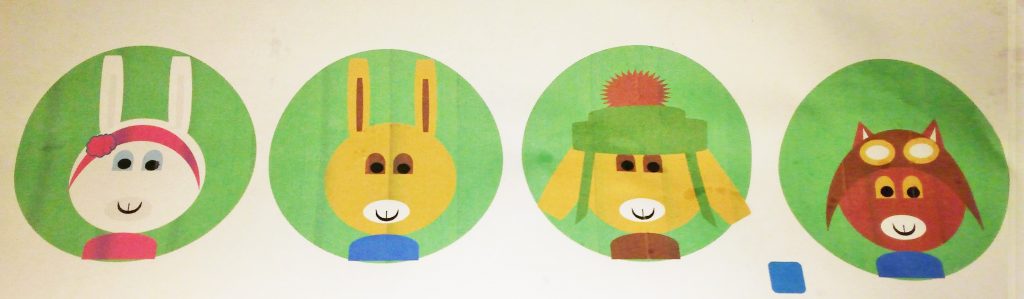
The plan I made for what the buns should look like
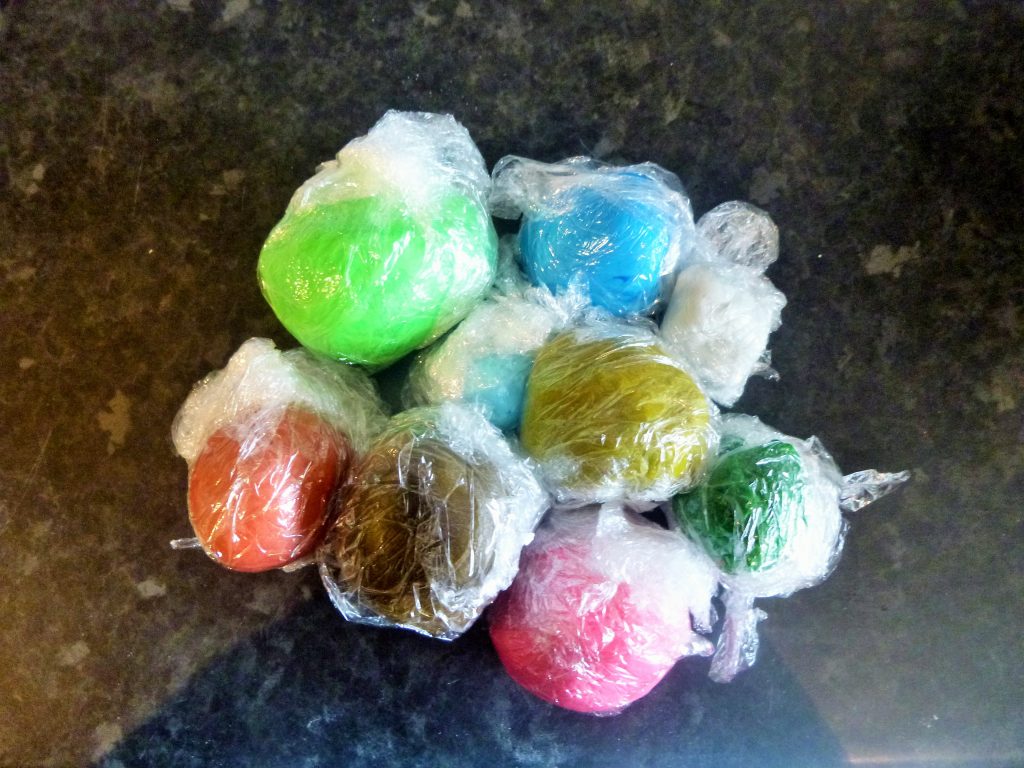
For these buns, you will need these 9 colours:
- Royal blue
- Pale blue
- Light Grey
- Dark red
- Light brown
- Dark brown
- Pink
- Green
- Dark green
I recommend wrapping your fondant in cling film and storing in the fridge. This stops it getting too sticky.
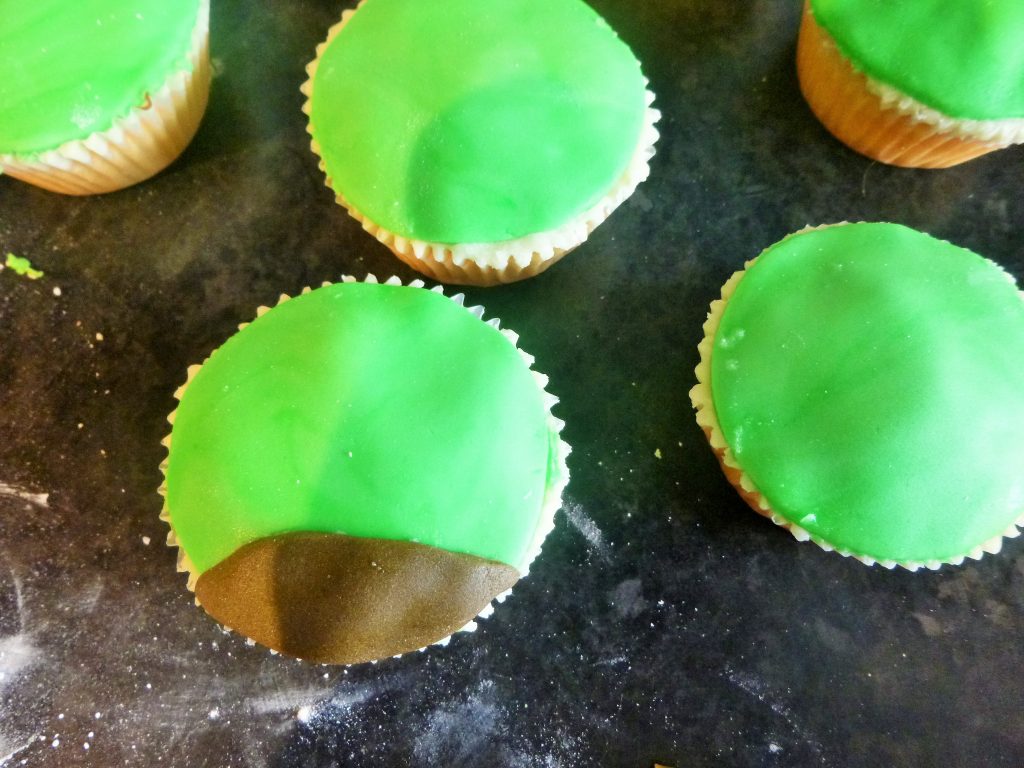
Bun preparation
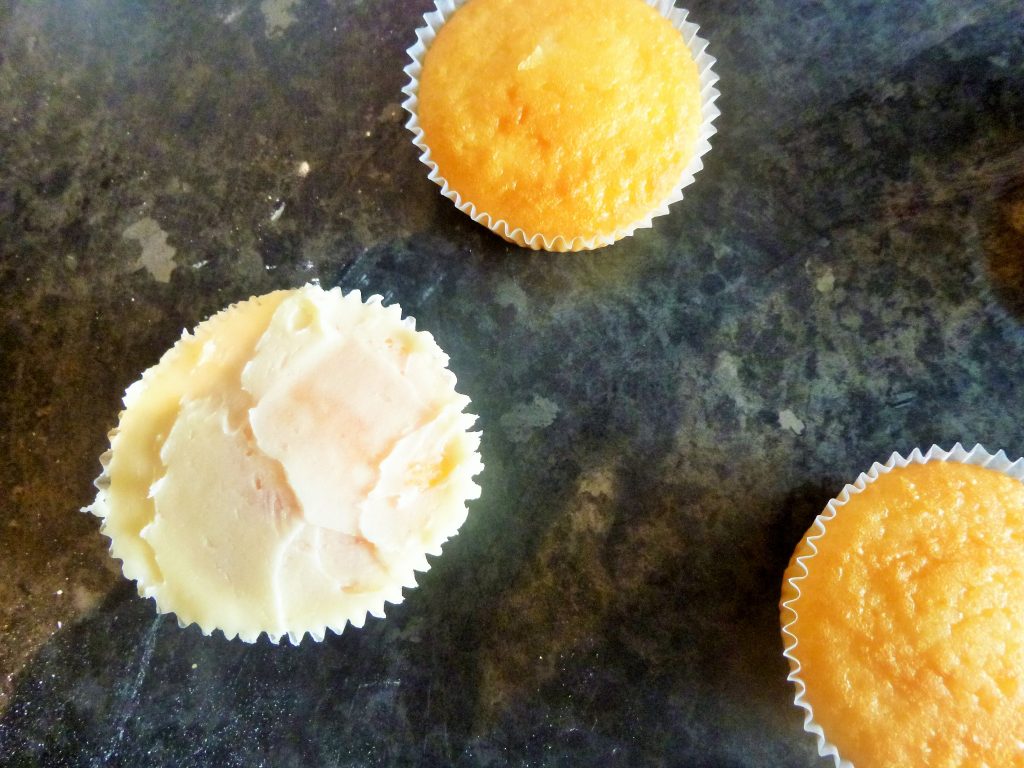
Before you start decorating, you need to prepare the buns.
- Blob some buttercream onto each bun and use a knife or spatula to spread it across the surface. Try and get the icing to form a flat top
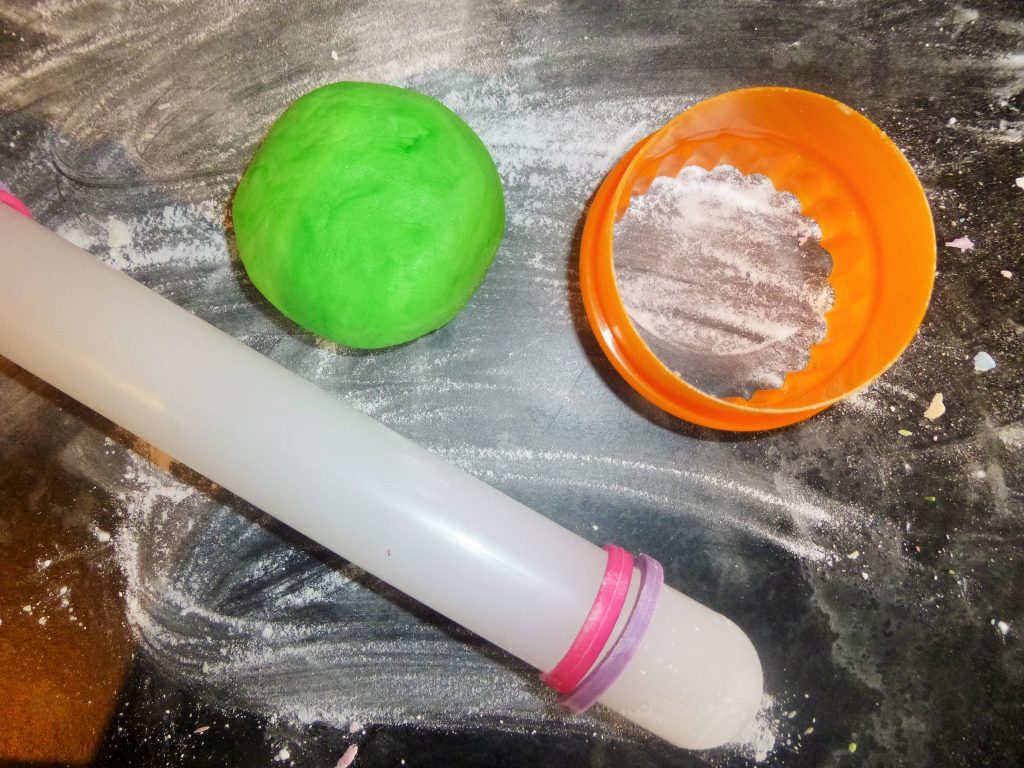
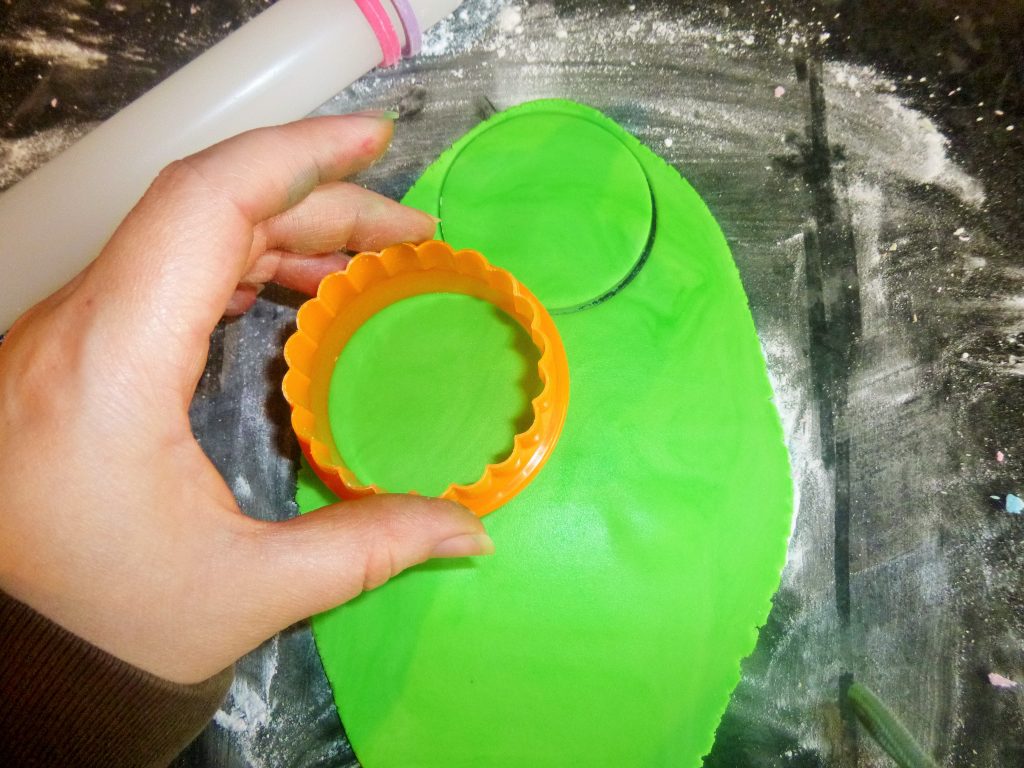
- Roll out the green fondant (about 3mm thick) and cut out some circles (use a cutter slightly bigger than your bun)
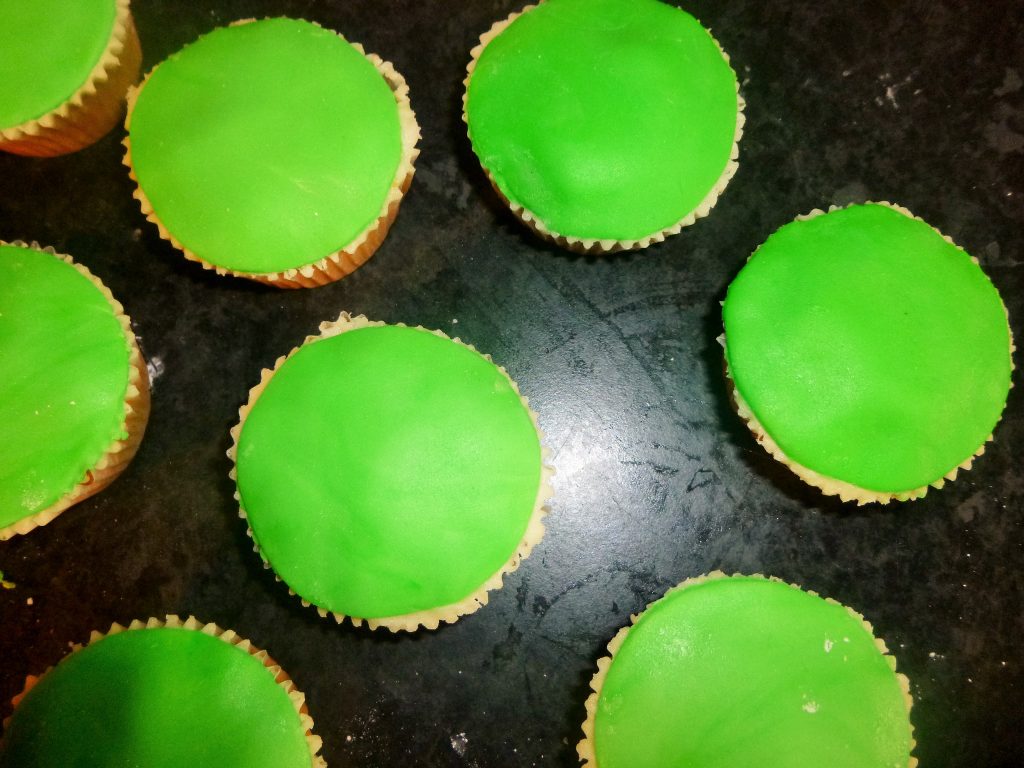
- Place the circles on the buns and tuck the edges in
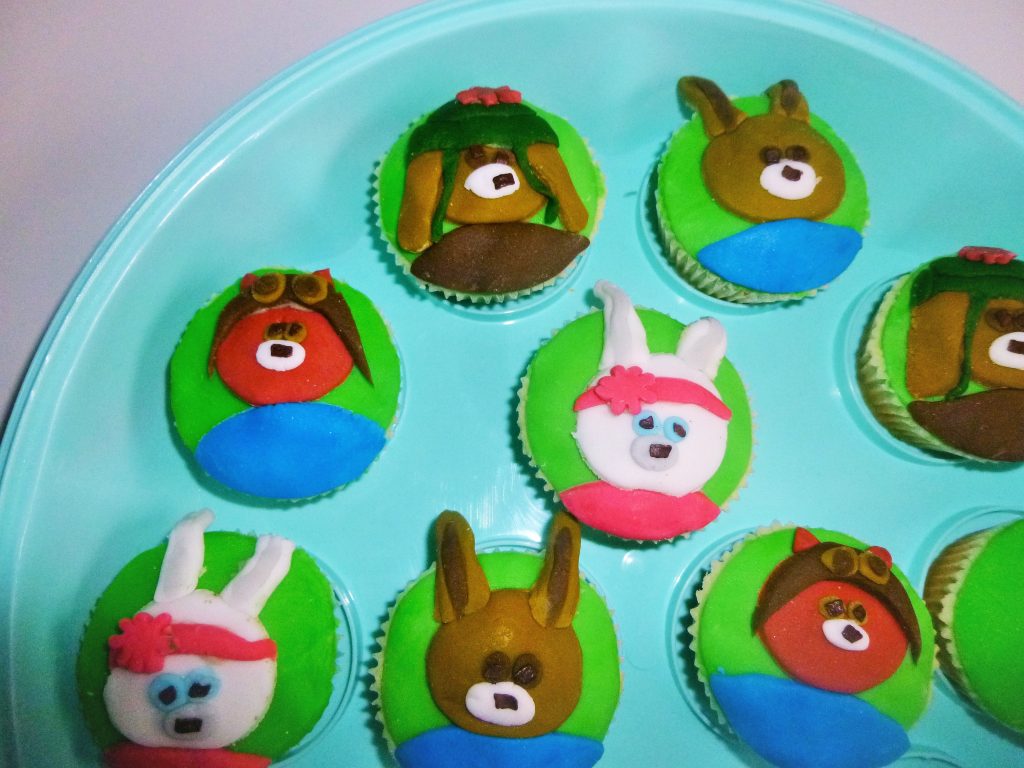
Making the Peter Rabbit Characters
Bodies
The bodies are really easy to make. Roll out the fondant and use the same cutter you used for the green base. Then section off a small amount using the cutter to make a pointed oval shape.
Remember that when you attach large pieces (like the body), you need to spread some buttercream on the back to act like glue and stick the piece in place.
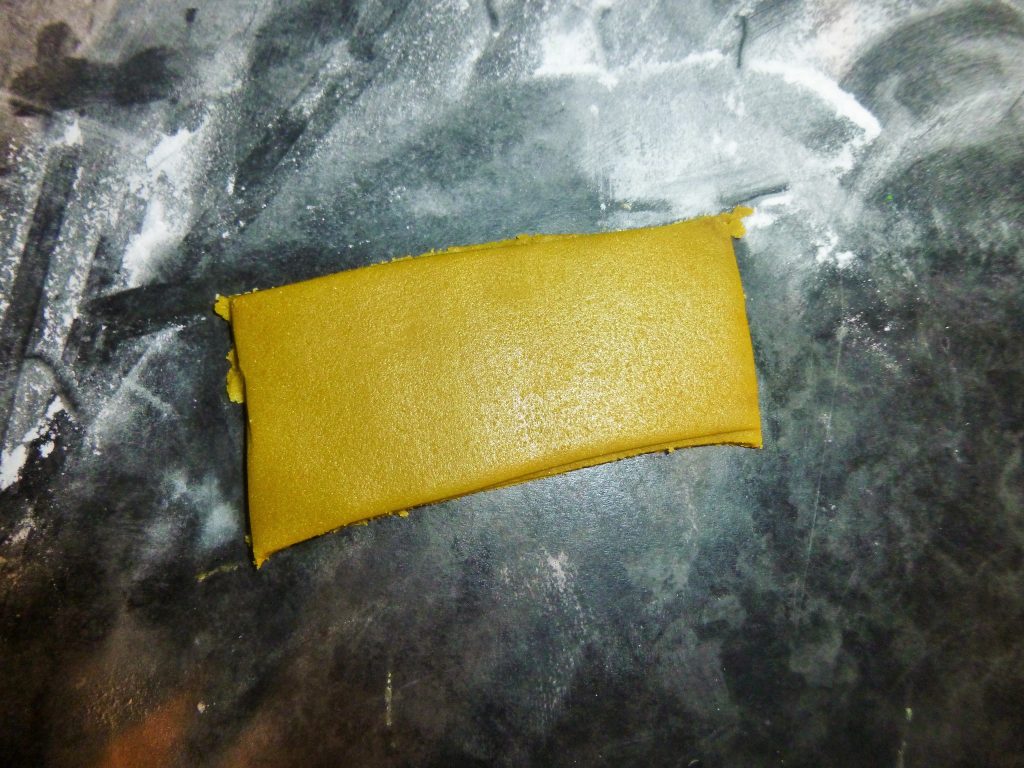
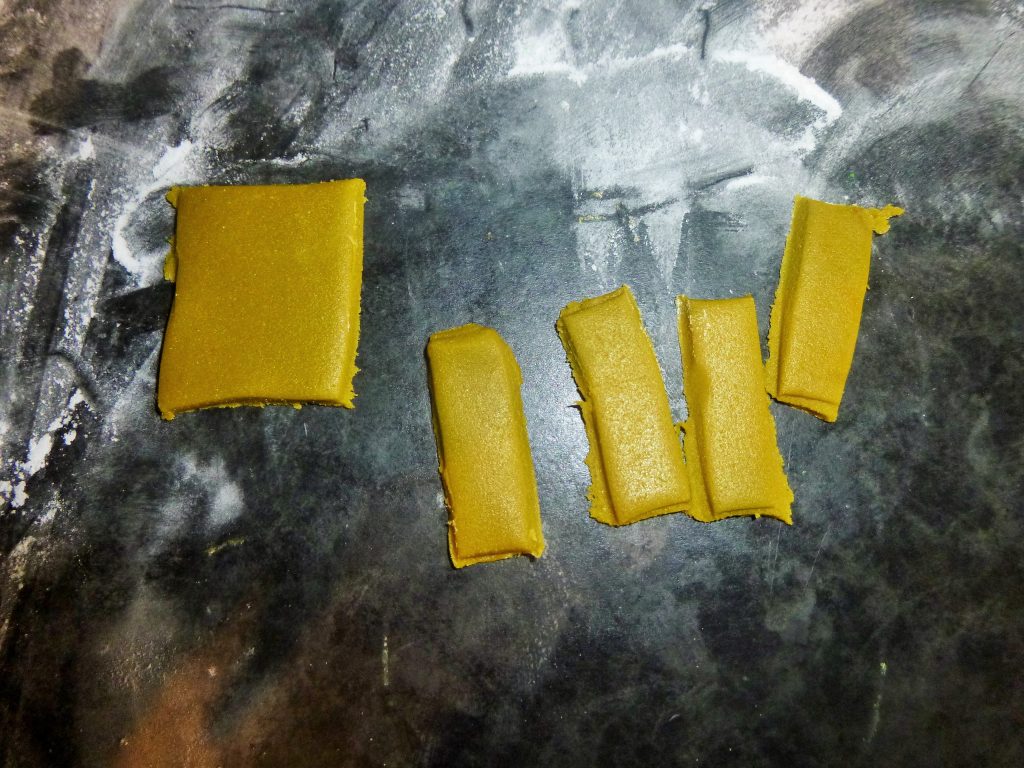
Rabbit Ears
To make the rabbit ears, cut a rectangle about 1 inch deep and then slice it up into smaller rectangles. Pinch these rectangles at one end to taper them. Then pull off a tiny piece of the inner ear colour and roll it in you palms before squashing into place.
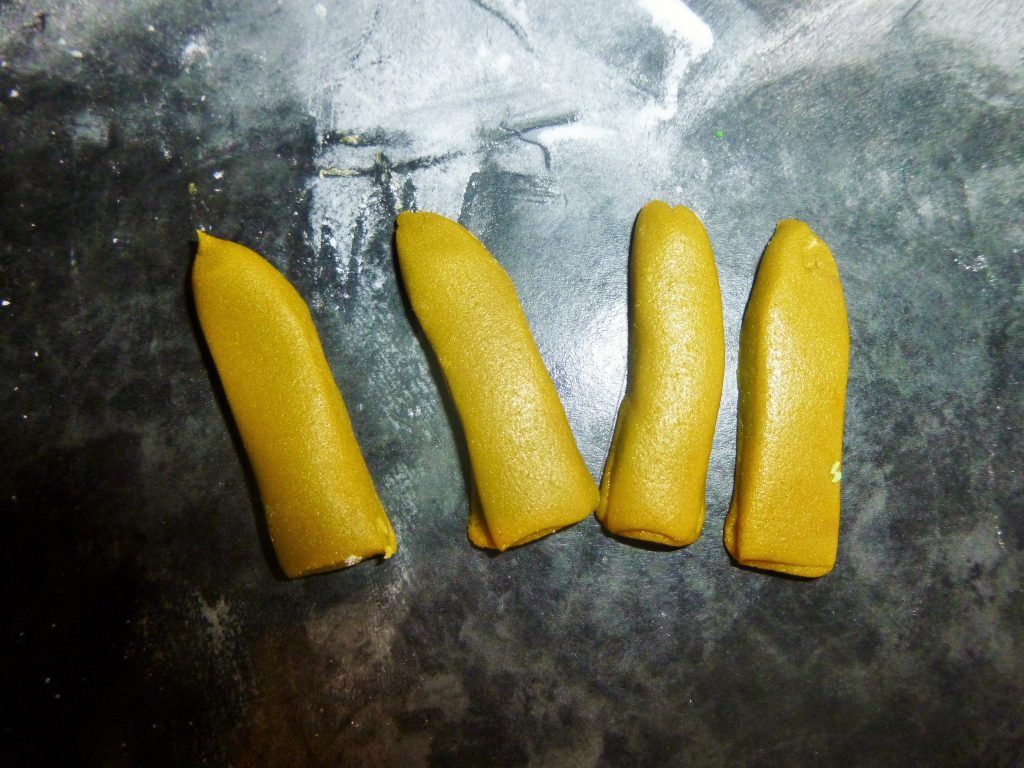
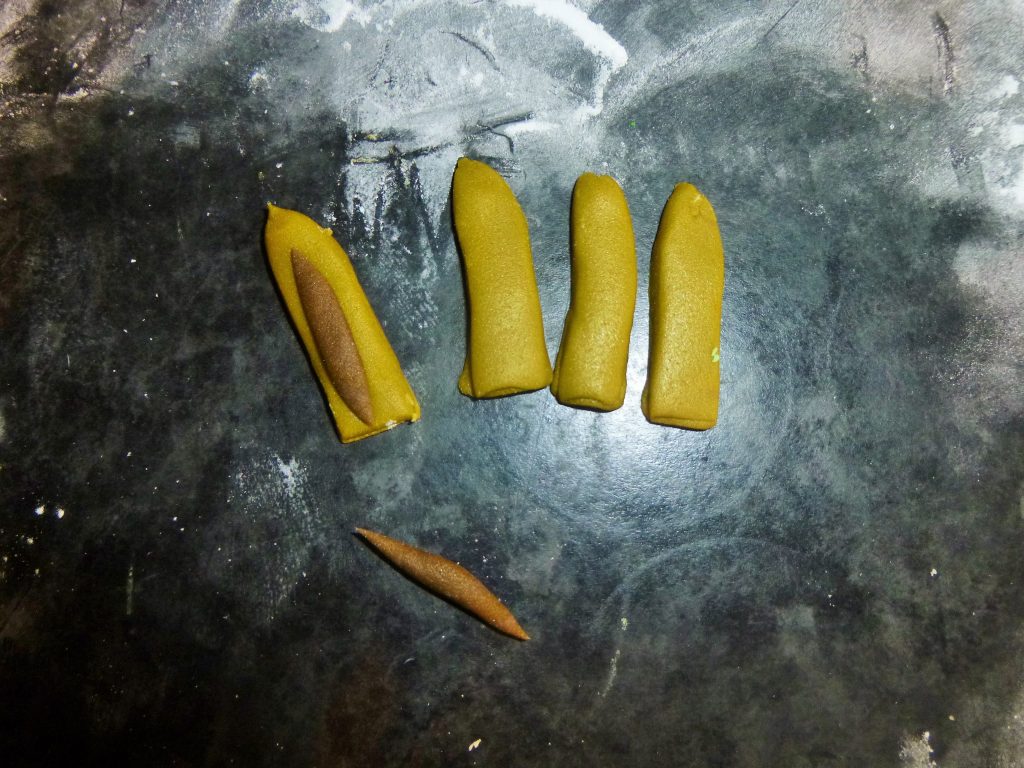
Unfortunately, Benjamin’s ears went a bit wrong (sorry – I’m just a regular mummy, not a pro!) but you get the idea
Face
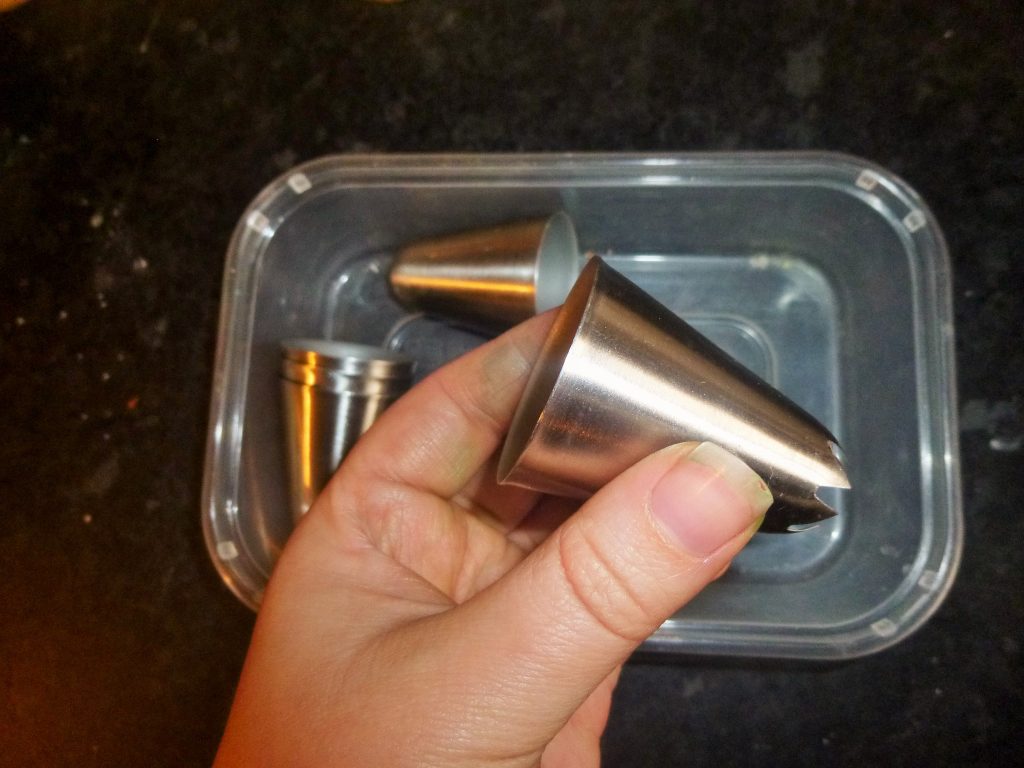
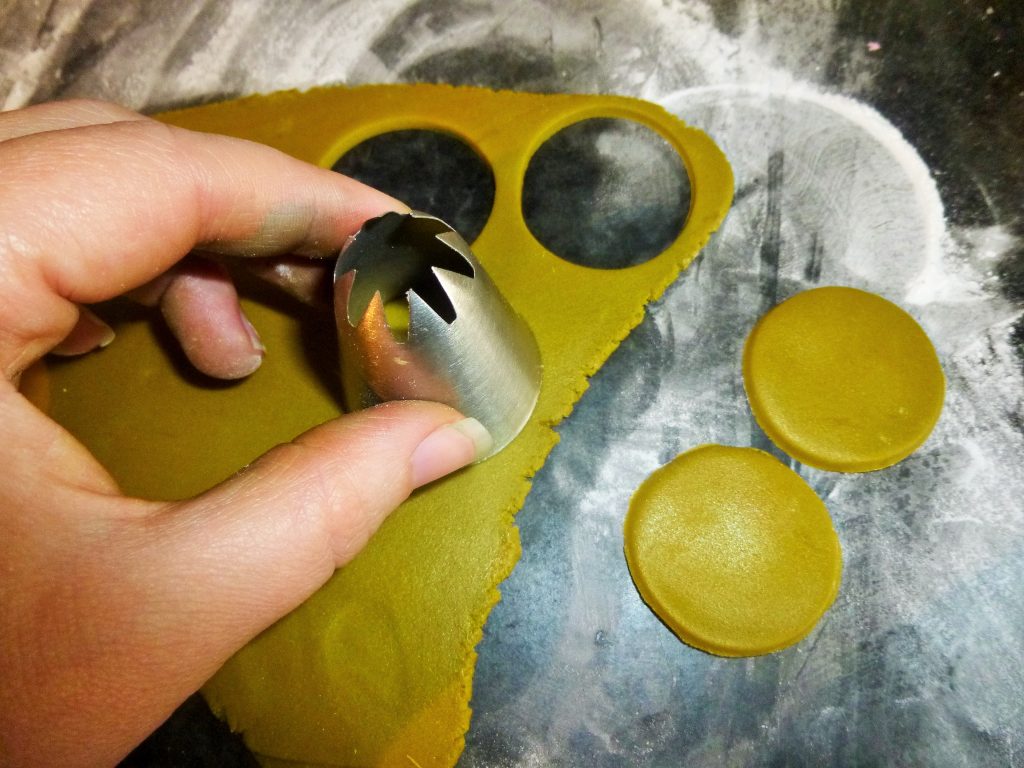
To make the faces, I just used a round cutter. Well actually, I used an icing bag end because I didn’t have a circle cutter small enough. Improvising is the name of the game!
Just roll out the icing as before and then cut out the faces. I’d recommend putting all the bits and pieces on and then transferring the whole lot as one to the bun. Remember you’ll need to put buttercream on the back of the face once it’s ready to be attached.
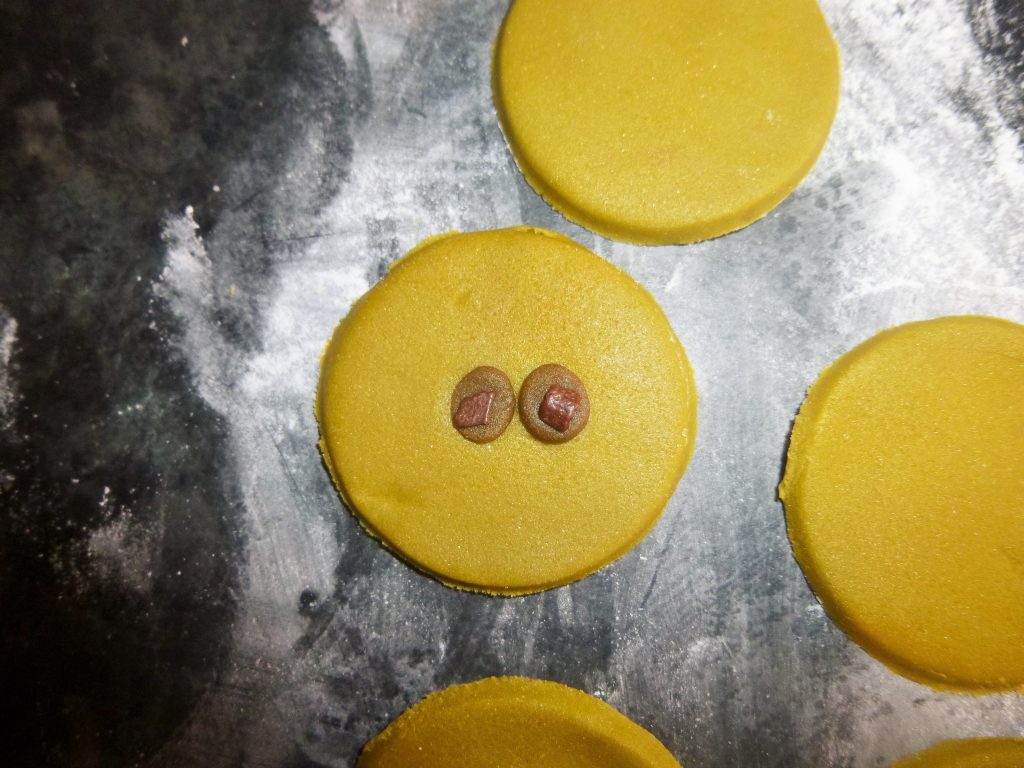
Eyes, nose & mouth
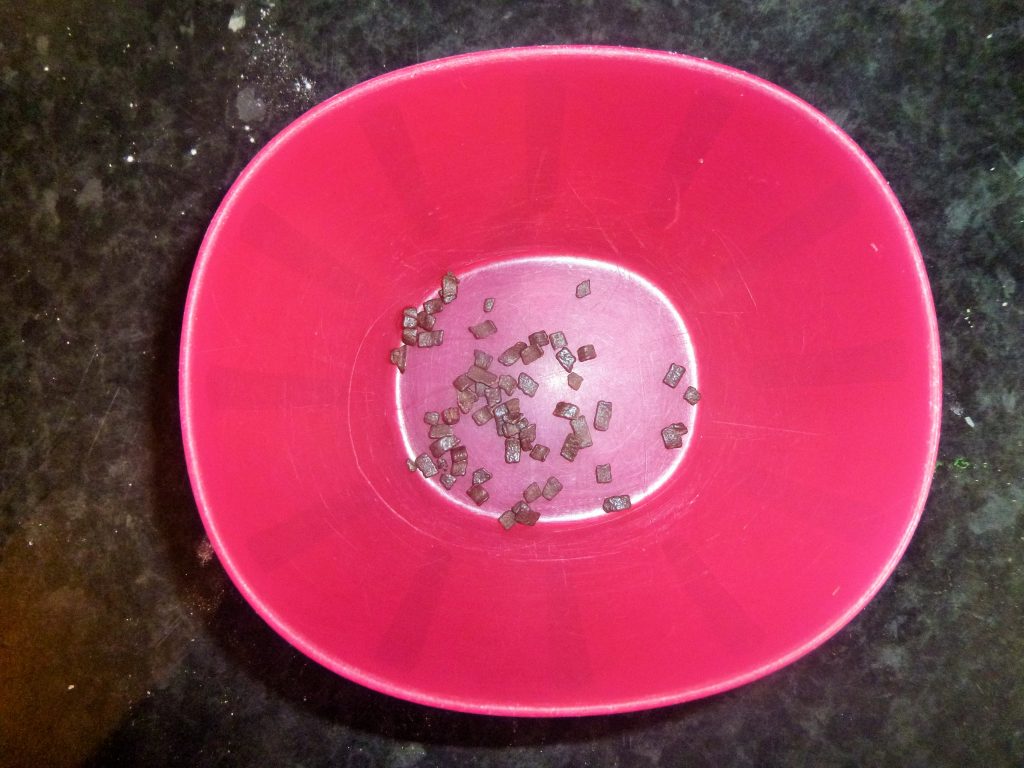
The eyes were really easy. Again, just pull off a small amount of the colour you need. Roll it into a ball and stick on the face. If I’d thought about it in advance, I’d have bought some little balls to go on as pupils, but I didn’t… so I had to make do with these chocolate sprinkle things.
I also used the same method for the mouth, and used a chocolate sprinkle for the nose.
Added Extras
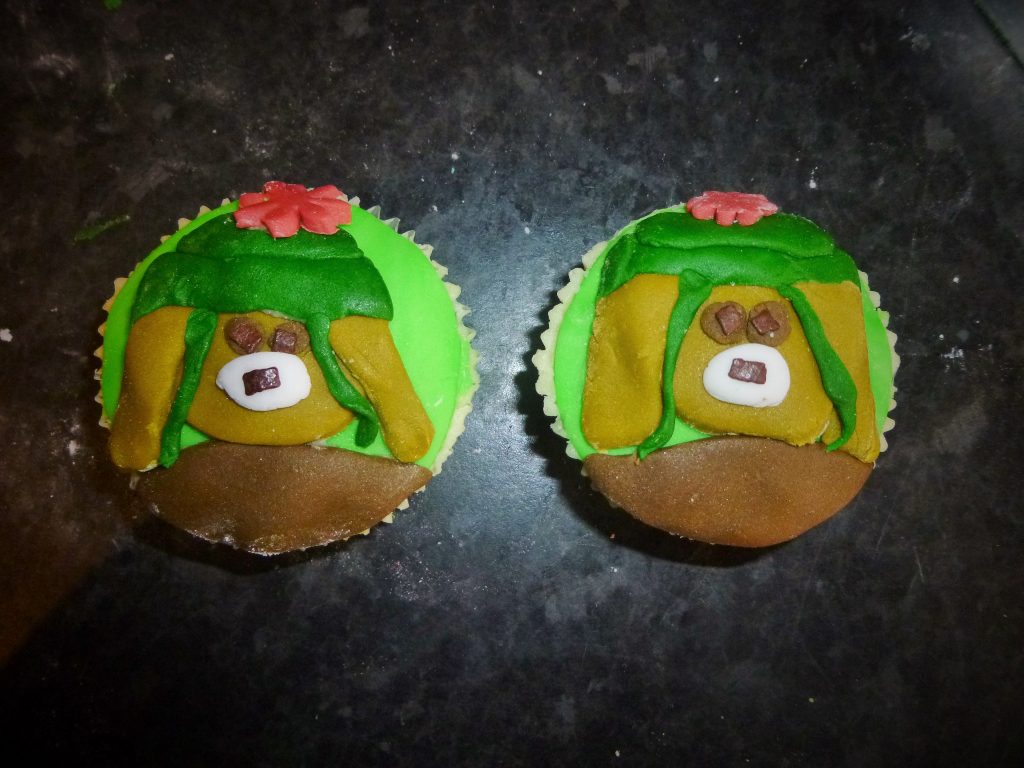
Benjamin’s Hat
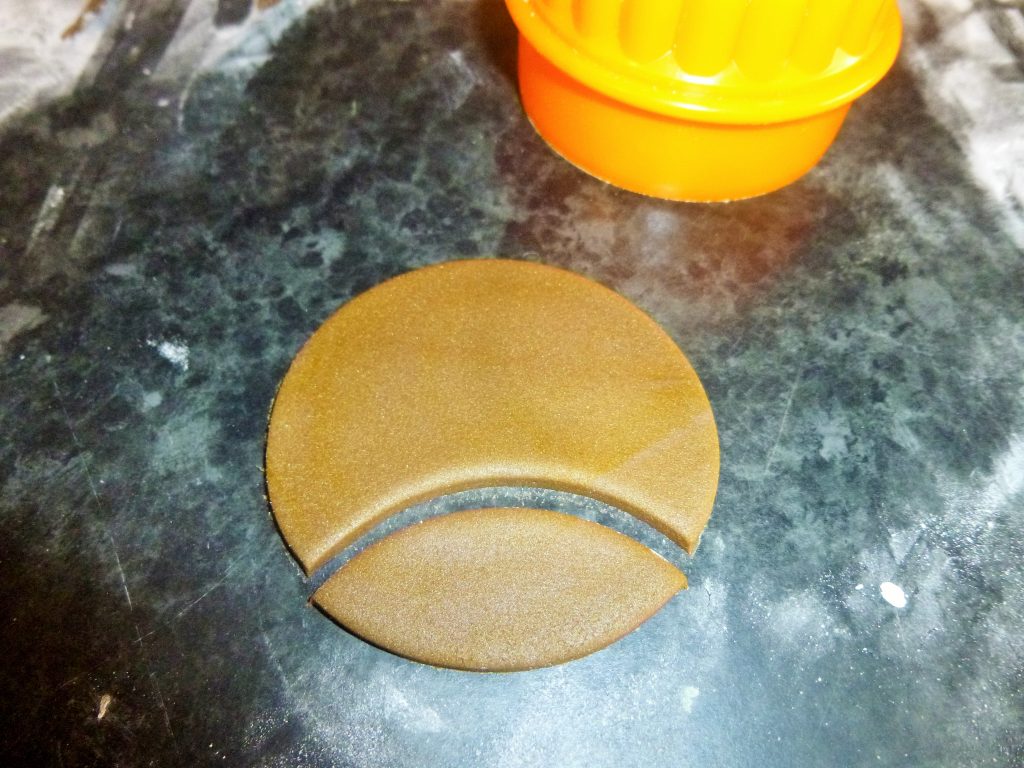
To make Benjamin’s hat, use the face-sized cutter again. Then cut a straight line to make a semi-circle (ignore my photo – this is a much easier method than how I tried to do it, and I’ll definitely do it this way next time). Stick on with buttercream.
To make the bobble for his hat, I used a small flower cutter, but you could just as easily roll up a little ball of fondant and leave it at that.
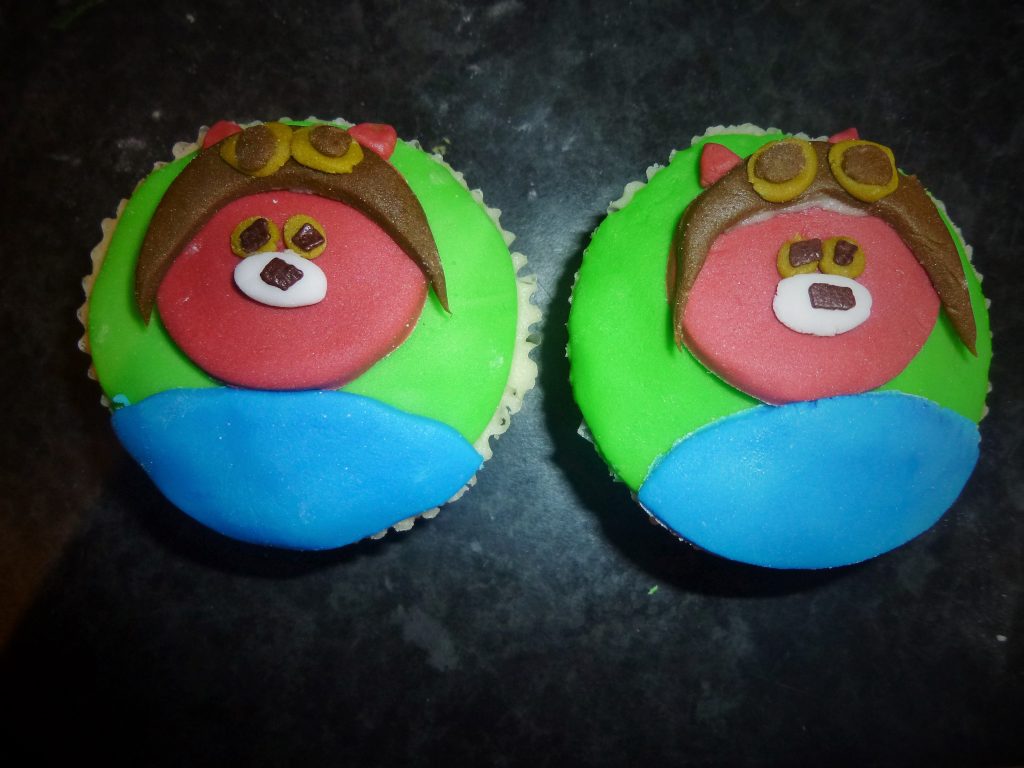
Nutkin’s Hat
Nutkin’s hat is slightly different because it comes down over the side of his face. Use the face-sized cutter again, but once you’ve cut the circle, cut it again about 5mm lower so you end up with a narrow bridge shape. Use your fingers to tease the walls of the bridge down and make them longer.
Stick on with buttercream.
Then roll small balls of fondant for the goggles on his hat and press on (no buttercream necessary for little pieces like this).
Nutkin’s Ears
Squirrel Nutkin’s ears are super easy to do. Pull off a tiny piece of fondant, pinch one end between your thumb and first finger and use your other thumb to flatten the other end = instant triangle shape!
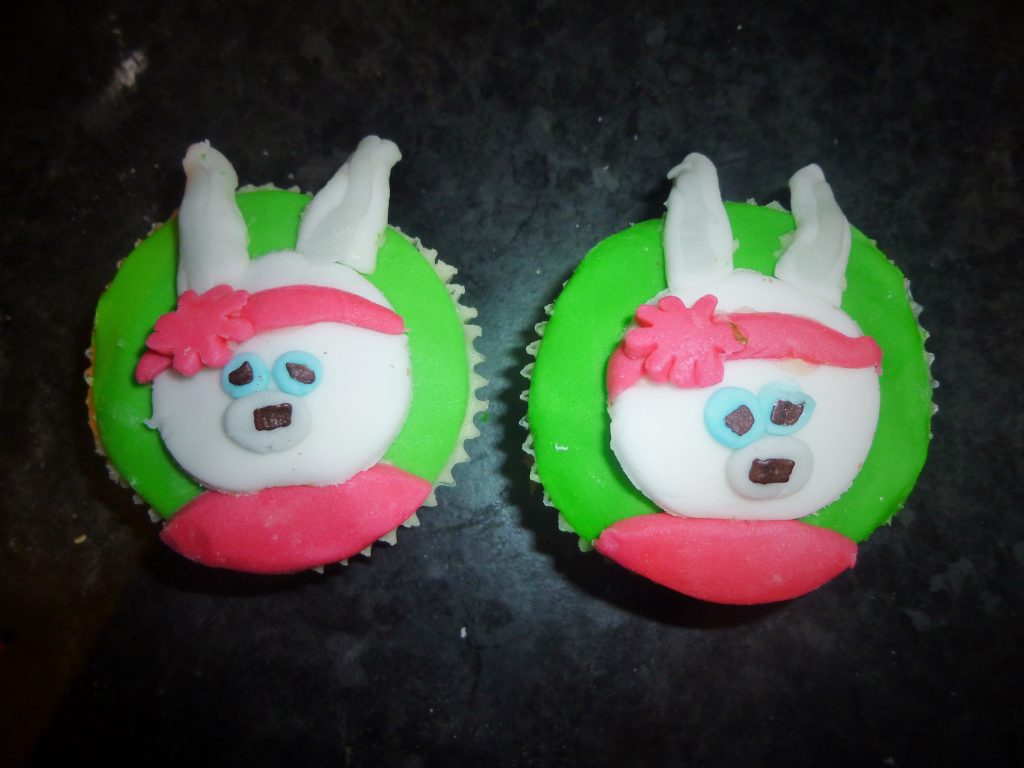
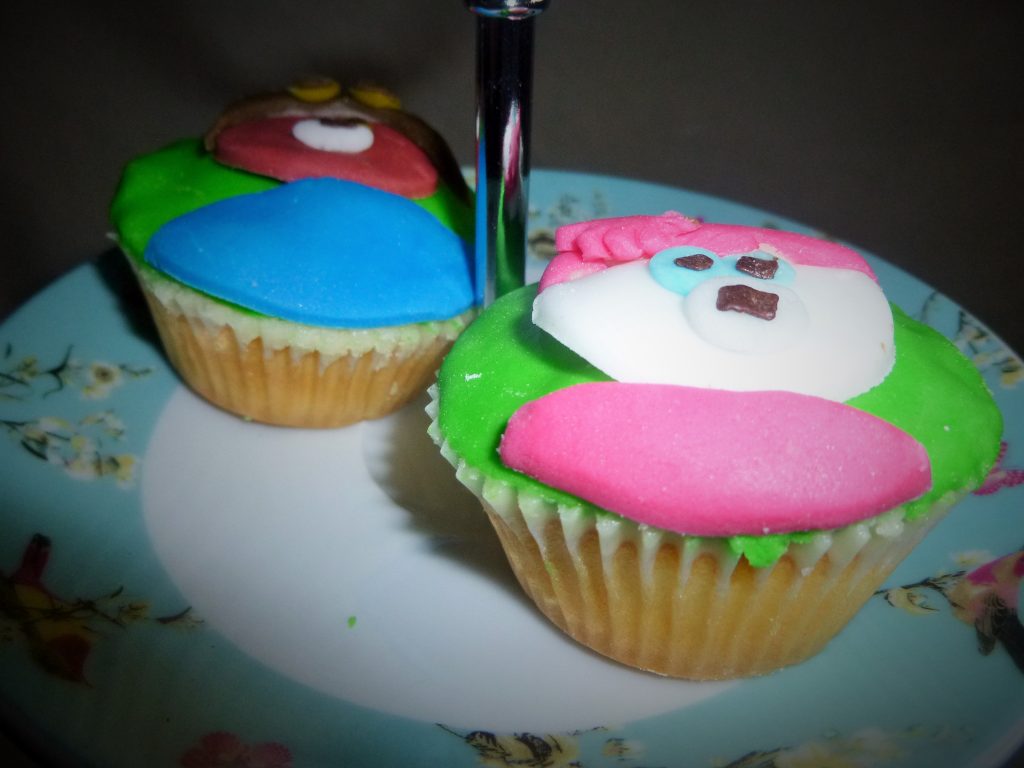
Lily’s Headband
Lily is one of the new characters in the CBeebies Peter Rabbit remake and she’s one of my favourites – a girl who knows her mind and keeps those boys in check!
For her headband, use the same method we used for Nutkin’s hat – a bridge shape. Then either use a small flower cutter for the decoration, or make a ball and flatten it.
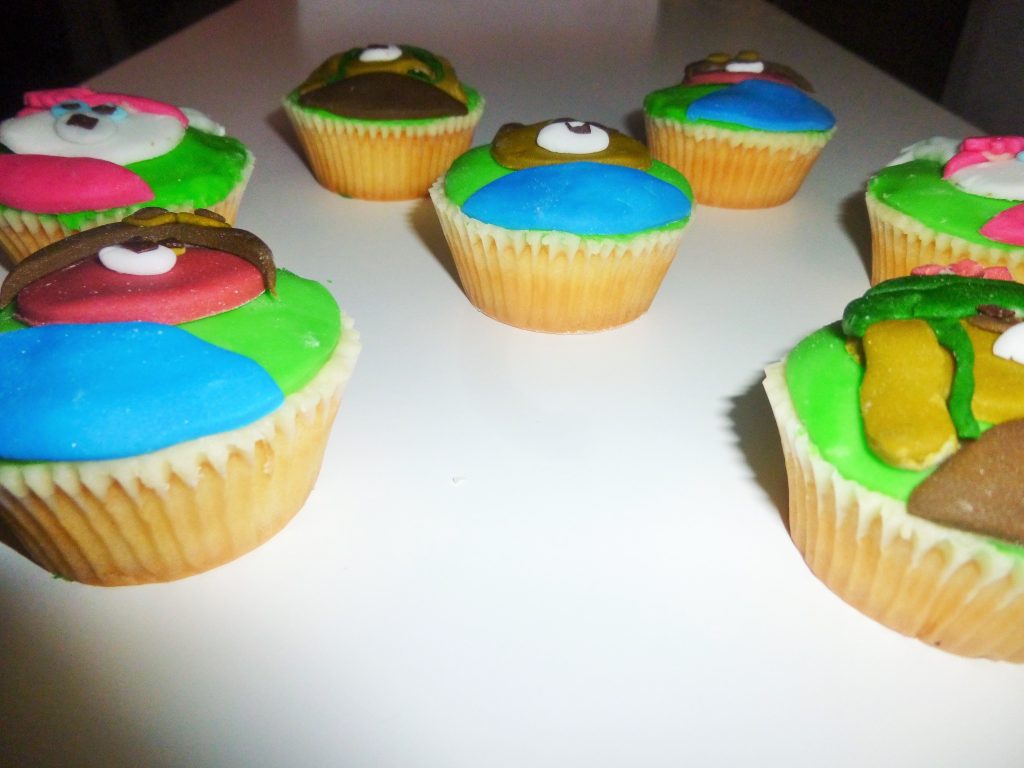
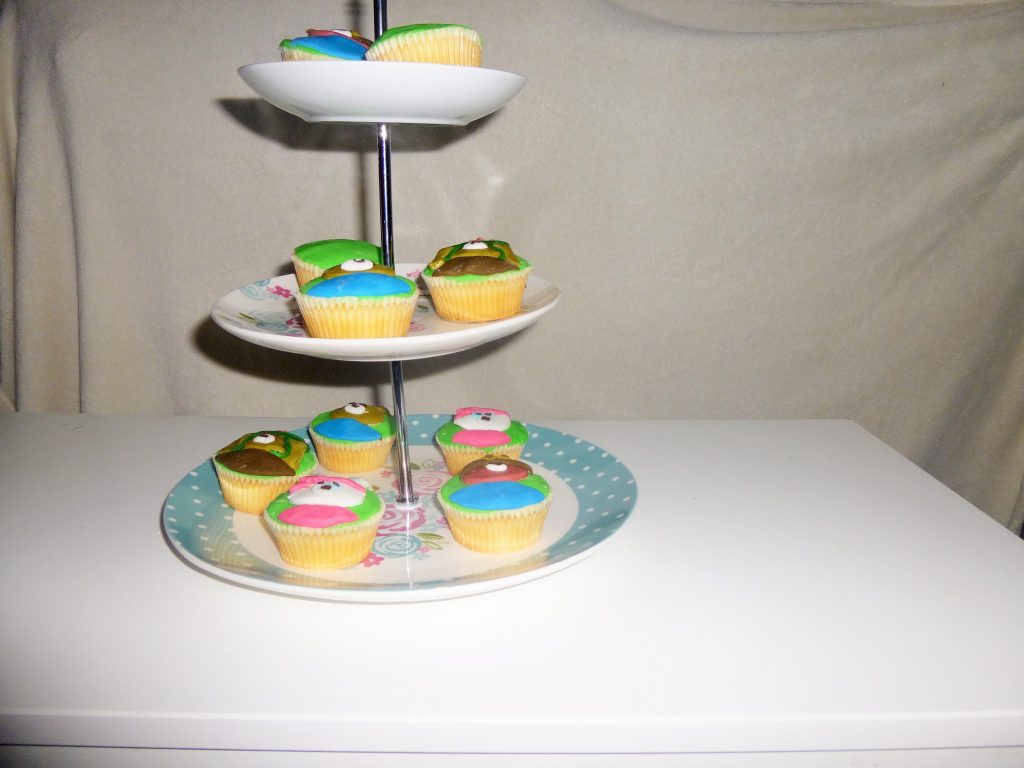
Eat Your Peter Rabbit Bun!
Yes the best thing about making buns is eating them afterwards. Ours might not have been perfect, but they tasted delicious! And the girls were thrilled to have their favourite characters in fondant form!
I know I’m never going to compete with Pinterest, but I love decorating buns so I shall continue doing so (but with cheaper fondant in future! Haha)
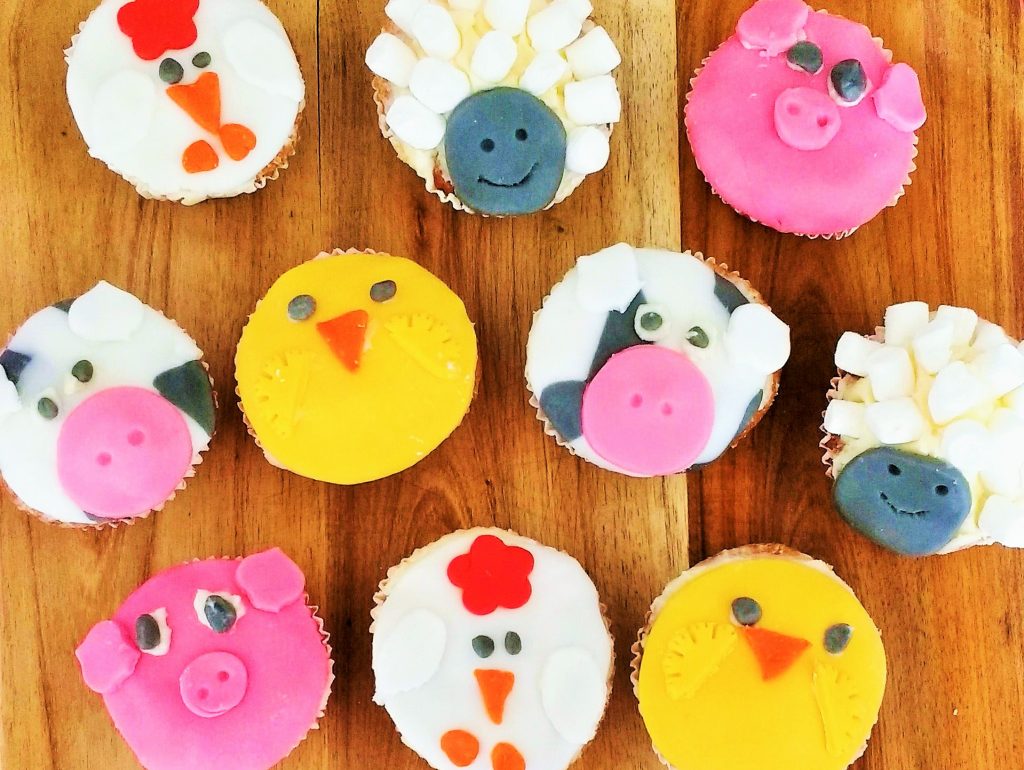
And if you liked these buns, you might also want to check out the other cupcake tutorials on my blog:
Over to you – have you ever attempted cake decorating? What shows did you watch as a child that your kids enjoy too? Do you prefer to have perfect creations or is the making the fun bit? Please leave comments below (I need cheering up after poor Benjamin turned out more dog than rabbit! Hehe).
Psst! If you enjoy Lucy At Home, a nomination in the Brilliance in Blogging awards would be super wonderful!
**Mwah!**


.
[…] Finally, the post I’m linking up for Blogcrush Week 15 is a little fondant icing tutorial entitled How To Make CBeebies Peter Rabbit Buns (by a novice). […]
These look delicious! #BlogCrush
Really well laid out method for everyone to follow! I bet the kids loved them! Im a baker so make a lot of cakes and theres a lot to be said for cheap icing! #BlogCrusg
I’ve seen your cakes – they’re fab! I’m definitely not up to your standard, but I enjoy being creative with it
This makes it sound really easy to follow but I am awful at cake decorating. I remember doing a 6 week course with my daughter at her school. No idea why as she won’t eat icing or cakes unless the are plain or completely chocolate! #blogcrush
Oooh I love eating the icing! But chocolate is also YUMMY!
These are so cute!!
Although, Tesco fondant I find tastes gross! #blogcrush
Ah I’ve never found that – we quite like it 🙂
Absolutely adorable! #blogcrush
You are waaaay more patient and talented than I my dear!
#blogcrush
Hehe well it’s nice of you to say so but it was more for the fun of it than talent! But thank you 🙂
Being a lowly American, I have yet to understand this CBeebies thing — yet what you have done her is so very impressive! I bet they even tasted good too! <3 #BlogCrush
Awesome post! I love anything food related….especially right now having just got home from work. The photos are spot on and I may Pin them! Thanks #Blogcrush
Love the honesty and simplicity in this post! I’d rather have instructions that included phrases like ‘squash them out flat a bit’ than any fancy pants recipe book! They turned out waaaay better than anything I’ve ever attempted!!! #blogcrush
Hehe yes well I’m not a very “fancy pants” kind of person! I prefer to say it how it is!
What lovely detailed instructions! The cakes look fabulous, well done.
#blogcrush
These look incredible! I think I would be Mamma of the year if I made these! Great tips about the cheaper fondant and cocktail sticks! #blogcrush
Thank you for your lovely comment
oh aren’t they super cute! #blogcrush
These are amazing, I went on a cake decorating course and we learnt loads of this stuff, like using cocktail sticks to colour the fondant and buttercream as glue. Love it, bet the girls were thrilled xx #BlogCrush
These are so cute! Well done mama for the effort and you actually made it look simple and achievable! I may have to try my hand at this even though I am the most challenged person on earth when it comes to anything cake decorating 🙂 #blogcrush
Well I’m good at the ideas… not so good at the execution! But it’s fun, so that’s the main thing (oh and the taste! Om nom nom)
These are amazing I am always looking for new activities for children and as I love baking we are definitely going to have a go at this #brilliantblogs@_karendennis
Oh how cute are these. Great way to entertain the kids
They are so adorable Lucy and so professional too, you are one creative lady, a super writer and accomplished baker too xx
Aaah what a LOVELY comment! Thank you so much!
These are adorable!! So cute come and make some for me 🙂 Thanks for hosting #BlogCrush
I love how much attention to detail you have put into these! I can only make butterfly buns – that’s my limit, and only because the wings hide all the dodgy bits haha. Great tip with the cocktail stick to colour the icing! Thanks for sharing with #DreamTeam xx
Butterfly buns are DELICIOUS! My grandma used to make them and they always make me think of her
What a great recipe and the pictures are wonderful. The cakes look amazing!
#DreamTeam
These are brilliant! Im impressed that you made a plan first, Ive never thought of doing that, but its a really good idea. I like your ‘In the night garden’ ones too. I usually don’t decorate my fairy cakes in so much detail but the way you have done it is very effective. Might give it a try for my daughters next birthday…. #ablogginggoodtime
Oh I need a plan or it goes horrible wrong! It also helps me work out which colours I need and how to use the minimum number of colours
Good job! You put in so much effort and the result is great. My mum was a professionally qualified cake decorator but I have not inherited her patience for it!! #SharingTheBlogLove
It does take aaaages! I always underestimate how long it will take to do
Oh my goodness these are brilliant and so cute! I have 2 BIG peter rabbit rans and they would just love these so much. I’m not sure I am quite up to the job, but it’s worth a try. Thank you for joining us at #SharingtheBlogLove
Wow these are amazing! I’m terrible at baking and admire anyone who can, these are just fantastic though! I bet the children loved them! Thank you for joining us at #sharingthebloglove
Oh, the grandkids would love these. Well, apart from the one that has to take every bit of icing off before he will eat it. He certainly didn’t get that habit from me lol.
Loved your instructions. Will have to try it.
#sharingthebloglove
Whaaat?? The icing is the best bit! Yum! Hehe
Wow!! so cute 🙂 the kids would love those!!! #sharingthebloglove
[…] are big Peter Rabbit fans in our house! (You might remember our popular tutorial on how to make Peter Rabbit cupcakes.) So imagine our excitement when Orange Tree Toys sent us their new Peter Rabbit Play Set to try […]